Growing herbs and microgreens suit different kinds of home-growing projects. Microgreens are young edible seedlings harvested early; an established herb plant is a longer-term crop. Choose the project that fits your light, available space and the amount of daily observation you can provide.
Choose between a tray and a lasting plant
For a short growing cycle, compare a Microgreen Grow Kit. Check the current kit contents and crop instructions before starting; harvest timing depends on the crop and conditions, not just a date on the calendar.
For a continuing herb project, compare the Paper Cup Herb Grow Kit or a suitable draining container. Think ahead about the mature plant’s space and light requirements. A small starter container does not mean the plant will remain small indefinitely.
Set up before growing herbs from seed
Read the packet and kit directions, choose a suitable location, and prepare clean equipment and water. Use seeds intended for the edible growing purpose; do not assume ornamental or chemically treated sowing seed is suitable for microgreens.
Make a short record of the crop and sowing date. Keep the packet so you can check sowing depth, germination conditions and later care. Different seeds do not necessarily need the same soaking, covering or germination method.
Give microgreens a clean, manageable start
Distribute seeds as directed, keep the growing surface appropriately moist and avoid flooding it. Follow the crop instructions for any covering phase and move seedlings into suitable light as they develop. NParks provides a microgreen growing introduction.
Inspect the tray regularly and use clean cutting tools at harvest. Do not assume an unpleasant smell or uncertain growth on the tray is harmless. Keep questionable produce out of your meals and seek guidance before starting a replacement batch. Clean the equipment between batches.
Growing herbs: match herbs to the container and light
Most culinary herbs need a well-lit position and an appropriate draining medium. Species differ, so look up the herb rather than applying one routine to mint, basil and rosemary. University of Maryland Extension discusses container herbs; use the plant-care principles rather than importing its winter timetable into Singapore.
Vege Mix is Sprout Lab’s moisture-retentive blend for herbs and edible containers, made with a peatmoss base, organic soil and biochar. It comes in 5L and 25L. Confirm that the medium and watering suit your particular herb; moisture retention is not a reason to leave a pot standing in water.
Respond to what the plant shows you
Check moisture within the growing medium rather than watering because yesterday was hot. If a herb wilts, inspect the pot before adding water: dryness, wet roots and heat can require different responses. See Why Basil and Balcony Herbs Wilt.
If seedlings stretch or lean, assess the light and spacing. A T5 NANO is positioned for compact growing setups, but the fixture must match the area and crop. Read How to Choose a Grow Light before selecting one.
Growing herbs indoors and on a balcony
Growing herbs at home works best when the position gets plenty of light. A sunny window or a bright covered balcony suits most culinary herbs, and growing herbs in a dim corner usually gives leggy, weak plants.
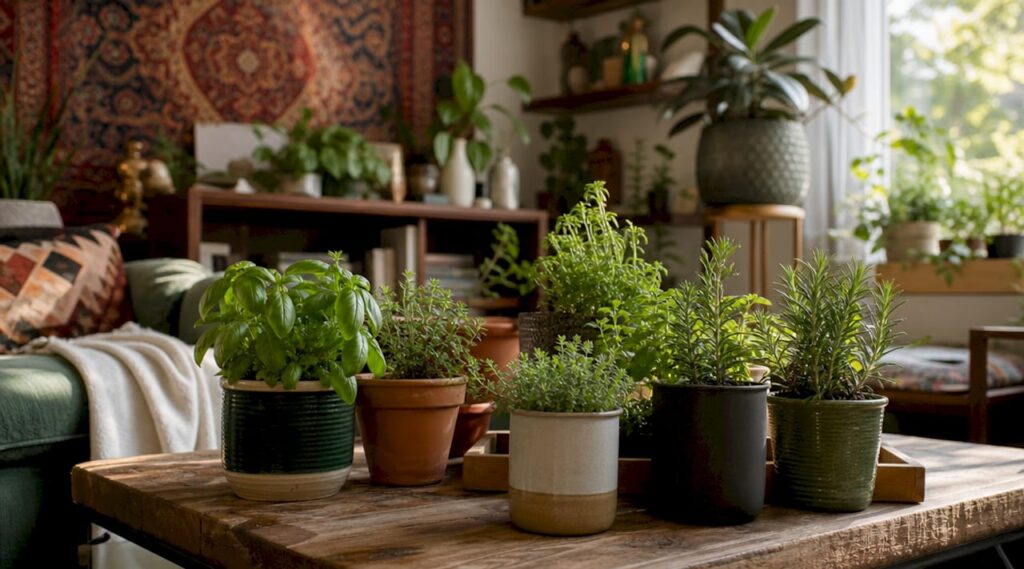
Think about airflow and heat as well. Growing herbs on an exposed balcony brings strong sun and wind, so small pots can dry out quickly. Choose containers with drainage and check moisture before watering.
Start with a few herbs you will actually use. Growing herbs you cook with every week keeps you engaged and shows you quickly what works in your conditions.
Growing herbs from seed or from cuttings
Growing herbs from seed is economical and lets you choose varieties, but germination needs patience and steady moisture. Follow the seed packet directions for depth and spacing.
Some herbs, such as mint and basil, can also be started from cuttings placed in water or damp medium. Growing herbs from cuttings gives you a head start, but give the new plant gentle light while it roots.
Whichever route you choose, label your pots and note sowing dates. Growing herbs gets easier when you keep records of what you did.
Growing herbs and microgreens together
Microgreens and herbs are different crops, but growing herbs and microgreens together suits a small kitchen shelf. Microgreens give a quick harvest while the herbs establish.
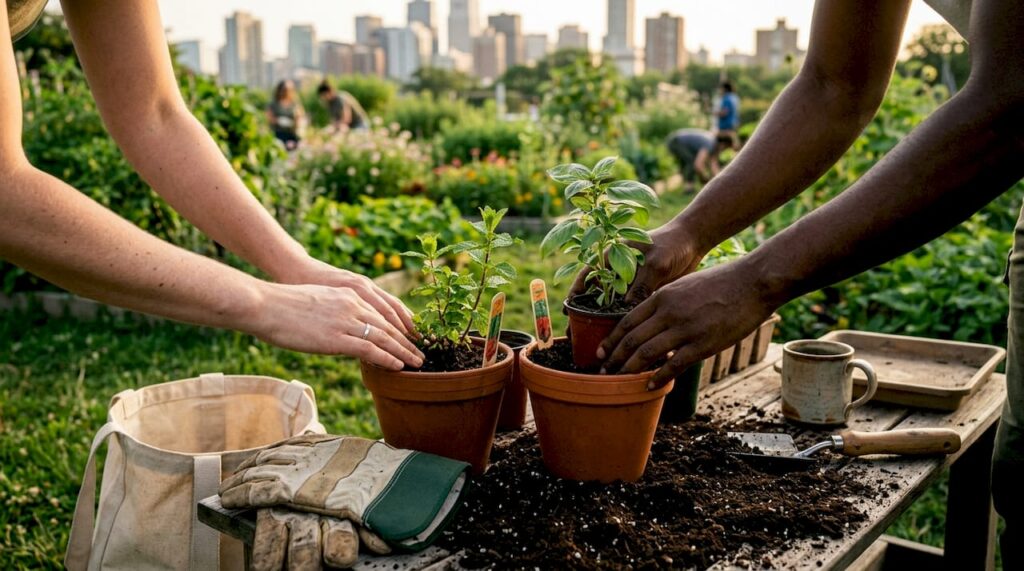
Keep trays and pots clean, harvest microgreens with clean tools and watch for odours or mould. Growing herbs alongside trays means sharing light, so check that each crop gets what it needs.
See our guides on leggy seedlings and choosing a grow light if growing herbs or microgreens indoors leads to stretched plants.
Is growing herbs at home difficult?
Not usually, if you match the herb to your light and keep the container draining. Start small and learn from each crop when growing herbs.
Which herbs suit beginners growing herbs in Singapore?
Many beginners start with basil, mint or chives, but look up each herb because needs differ. Our guide to wilting basil and herbs helps if growing herbs goes wrong.
How often should I water when growing herbs?
Check the growing medium instead of watering by the calendar. Growing herbs in small pots can dry out quickly in hot weather, so look below the surface first.
Containers and equipment for herbs
Choose containers with drainage holes and enough depth for the herb’s roots. A small cup is fine for a seedling but a mature herb often needs more room.
Use a tray or saucer to catch drainage and empty it so roots do not sit in water. Clean containers and tools between crops.
Terracotta dries faster than glazed or plastic pots, so check moisture more often if you use it on a sunny balcony.
Label each pot with the herb and date so you can compare how different plants respond.
A simple weekly routine for herbs and microgreens
Once a week, check the moisture below the surface, look at the leaves for pests and decide whether any herb needs a different position.
Rotate pots so growth stays even, and pinch back leggy shoots on herbs such as basil to encourage a bushier plant.
Harvest regularly with clean scissors, taking a little at a time so the plant keeps enough leaves to grow.
Keep microgreen trays clean and harvest at the stage given in the crop instructions.
Food safety basics for home-grown herbs
Wash your hands before handling edible crops, and wash harvested herbs and microgreens before eating them.
Use clean water and clean tools, and discard anything that smells off or looks mouldy rather than eating it.
Keep products and treatments labelled for edible use, and follow any harvest interval on a label before you eat treated plants.
Quick answers about herbs and microgreens
Which herbs need the most light? Sun-loving herbs such as basil and rosemary generally need bright light, while some leafy herbs tolerate a little shade. Look up each herb.
Can I grow herbs from supermarket stems? Some herbs, such as mint and basil, can root from cuttings. Roots may take time, so give them gentle light.
Do microgreens need soil? Many are grown on a thin growing medium or pad, depending on the crop and the kit. Follow your kit instructions.
How long do microgreens take? Harvest time depends on the crop and conditions, so follow the instructions rather than a calendar.
Can I regrow herbs after harvesting? Many herbs regrow if you harvest a little at a time and leave enough leaves.
Why is my basil flowering? Basil flowers as it matures or when stressed. Pinching off flower buds can prolong leaf production.
Do herbs need fertiliser? Light feeding during active growth is common, following the product label.
Choosing herbs for your light
Match the herb to the light you actually have. A bright, sunny window suits basil and rosemary, while a shadier spot suits mint and parsley better.
Start with two or three herbs and watch how they respond before adding more. That teaches you more about your conditions than a crowded shelf.
If the light is poor, a small fixture can help; read How to Choose a Grow Light before you buy.
Troubleshooting common herb problems
Leggy, pale growth usually points to weak light. Move the pot somewhere brighter and pinch back stretched shoots to encourage a fuller plant.
Yellow leaves can reflect watering problems, low light or tired medium. Check the roots and the moisture before adding fertiliser.
Wilting needs a moisture check first. Our guide to wilting basil and herbs explains how to tell thirst from wet roots.
Holes, sticky leaves or tiny insects call for a pest check. See our aphid guide and caterpillar guide, and check labels for edible use before applying anything.
Keep edible-crop care specific
Inspect leaves before applying a spray. Use the aphid guide or caterpillar guide if those signs are present. Check that a care product explicitly supports the crop and use, including any harvest interval.
Keep a short diary of watering, feeding and growth. If the project is struggling, send photos with the crop, sowing date, location and recent care. This gives the team a useful basis for advice instead of guessing from a single damaged leaf.