Spider mites are a diagnosis to confirm, not a label for every dusty or yellowing leaf. UC IPM describes adults with eight legs and notes that development can be rapid in favourable conditions. Fine stippling, webbing and moving dots together are much more persuasive than a brown leaf edge alone. On a Singapore indoor shelf, inspect sheltered leaf undersides before changing the soil or feeding routine. Then separate affected plants and choose removal or a labelled treatment based on live activity. If the signs don't fit, return to the houseplant pest identification guide. This plan helps you distinguish current feeding damage from old marks, treatment injury and ordinary environmental stress. (Source: UC IPM, Spider Mites, 2011.)
On this page
How do you confirm spider mites?
Spider mites, thrips or a normal spider web?
A first response for a small indoor collection
Why can mites occur in a humid Singapore home?
Which product is relevant to a confirmed infestation?
How do you avoid spray injury?
How do you confirm spider mites?
Inspect leaf undersides with a hand lens and look for moving mites alongside fine feeding marks. UC IPM recommends a 10× lens for observation. A lens is useful because a leaf can look dusty from a distance even when the underlying cause is unrelated to mites.
Hold a clean white sheet beneath a suspect leaf and gently tap the leaf. Watch any specks for movement, then examine them more closely. Don't assume every moving dot is a plant-feeding mite: beneficial mites exist too. Photograph both the organism and the damaged leaf so an adviser can assess the relationship.
Check multiple leaves from the same plant, including foliage that still looks healthy. A severe-looking leaf may record old damage while current activity sits elsewhere. Keep the inspection area still enough to distinguish moving organisms from dust blown by a fan. Good lighting and a steady phone support make close photographs more useful.
• Fine pale stippling supports the diagnosis.
• Dense fine webbing adds evidence, but don't wait for it before inspecting.
• Moving organisms need identification; colour alone is unreliable.

Look for: many tiny pale dots, a dusty or bronzed surface, drying leaf edges and fine webbing around veins or stems. Real symptom photograph via Wikimedia Commons.
Spider mites, thrips or a normal spider web?
Distinguish the organism and feeding pattern before selecting a treatment. A normal spider web across an open gap differs from fine webbing closely associated with damaged leaves and mite colonies. Use location, visible organisms and fresh damage together; none of those observations should be replaced by a guess from leaf colour.
Thrips often leave silvery scarring and dark specks, while other leaf problems can produce pale spots without insects. Hard-water residue may wipe off but damaged plant tissue won't. Use these as comparison clues rather than absolute rules. A mixed infestation is possible, so don't stop inspecting once one problem has a plausible name.
If the evidence points towards elongated insects, compare the thrips guide. If there are no organisms after careful repeated checks, revisit light changes, root moisture and any spray recently used. Treating an uncertain diagnosis can leave you with both the original problem and injured foliage.
A first response for a small indoor collection
Separate the plant, clean accessible foliage and assess water stress before adding products. Keep the response proportionate to what you have confirmed. A suspect specimen needs observation, but nearby plants should be inspected individually rather than automatically treated because they occupy the same shelf or room.
Choose a quarantine position that provides suitable light and doesn't direct fan airflow through the affected plant towards clean specimens. Move touching foliage apart. For a plant that tolerates washing, support the leaves and rinse undersides carefully. Control runoff so repeated leaf cleaning doesn't become uncontrolled irrigation of the root ball.
After washing, let excess water drain and return the plant to appropriate growing conditions. Don't leave water pooled inside a decorative outer pot. Clean the surface where you worked, and inspect adjacent plants in place before moving them around. A clear work order reduces the chance of confusing which plants had evidence and which merely stood nearby.
Why can mites occur in a humid Singapore home?
A national climate description does not describe every leaf on an indoor shelf. UC IPM associates damaging mite outbreaks with hot, dusty conditions and water stress. The practical question is whether the actual growing position and root moisture create stress, rather than whether Singapore is generally humid.
Consider an alocasia beside a bright window with air-conditioning nearby. Its leaves, root ball and surrounding air can respond differently through the day. Check the pot before assuming a brown edge needs more watering, then examine the leaf undersides before deciding it needs a pesticide. Both steps can be done without disturbing healthy roots.
Routine misting isn't proof that a mite infestation is controlled. It also doesn't compensate for a dry root ball or a poor light position. Choose care adjustments from observations: whether the mix dries too quickly, whether dust accumulates, and whether new leaves remain clean. Avoid turning the plant's enclosure into a permanently wet, poorly ventilated space.
Which product is relevant to a confirmed infestation?
Review a pest product only after finding live mites and confirming that its label includes them. A general insecticide claim is not enough to establish suitability. Write down the pest, host plant and intended application before choosing a bottle, then check that the supplied directions answer all of those points.
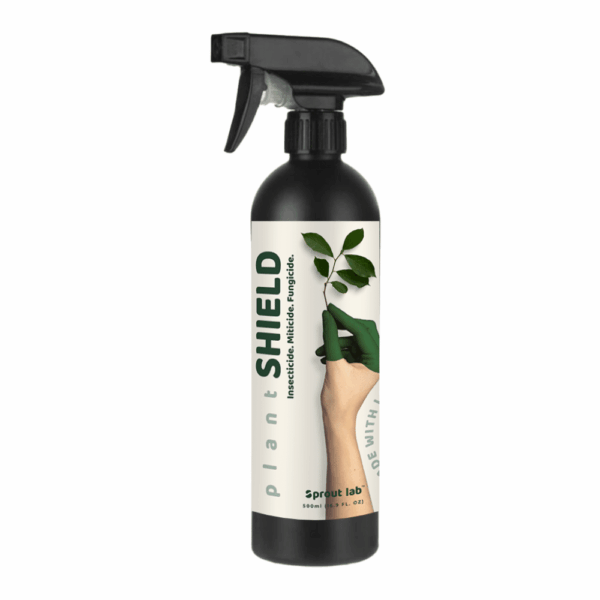
Plant SHIELD is the catalogue option to investigate, subject to the actual bottle label. Check the target pest, plant exclusions, application site, compatibility instructions and repeat interval. Don't infer that a product can reach eggs or hidden stages unless its label explicitly supports that use.
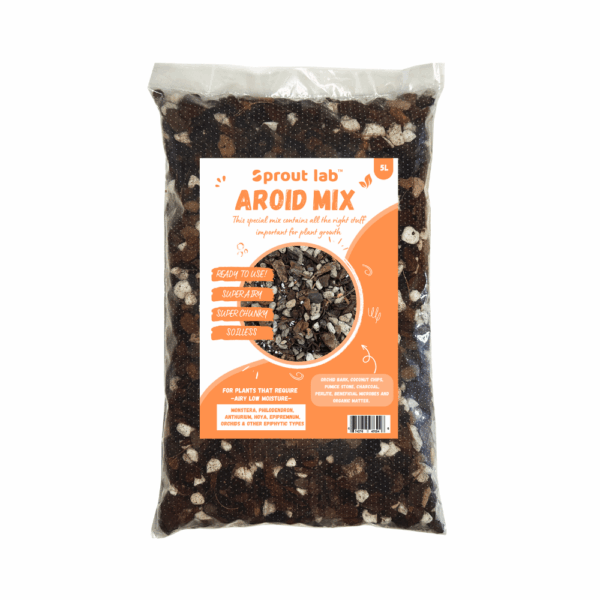
A grow light may be appropriate for a separate lack-of-light problem, but it doesn't kill mites. Similarly, fresh Aroid Mix can support a suitable aroid when repotting is independently needed; it isn't an acaricide. Separating these decisions prevents a pest diagnosis from becoming an unnecessary shopping list.
How do you avoid spray injury?
Apply only according to the label and avoid experimenting on the entire plant first. Read both the pest directions and the plant-sensitivity precautions. Product choice and application conditions need to fit together: a suitable target claim does not remove the need to check stress, exposure or recent treatments.
Read the instructions for dilution, coverage, drying conditions and plant sensitivity. Don't use a household cleaner or combine oils, soaps and fertilisers because each sounds mild on its own. Keep records of what was used and where, particularly when several people in a household care for the same collection.
If new spotting appears soon after an application, pause and reassess before repeating. Compare treated and untreated areas, inspect for live mites, and check whether the product was exposed to heat or used on stressed foliage. Damaged tissue won't identify its cause for you, so a dated application log is valuable evidence.
Measure progress without chasing perfect leaves
Judge progress by live mite activity and damage on new growth, not by old stippling disappearing. UC IPM notes that favourable conditions can permit a generation in less than a week. That supports follow-up inspection, but it does not create a universal spray interval for Singapore homes.
Choose consistent observation points such as the same mature leaf and the newest expanded leaf. Photograph them under similar lighting and note whether webbing returns. If you clean leaves, record that too. A sudden reduction in visible dust immediately after washing is not equivalent to sustained control across the plant.
If numbers decline but the plant continues to deteriorate, look for a second problem. Persistent wet roots, inadequate light or excessive fertiliser won't be corrected by successful mite management. Conversely, a plant can grow a healthy new leaf while a small colony remains, so keep checking the less visible undersides.
When should you seek a closer diagnosis?
Get help when repeated inspection cannot separate mites from another cause, or when damage continues despite correct action. A sharper image and a concise care history are more useful than another speculative treatment. Keep observations comparable so an adviser can distinguish a changing infestation from old scars or recent leaf injury.
Send a whole-plant photograph, a close view of both leaf surfaces and a brief record of watering and applications. Include whether nearby plants show similar signs. That package is much more diagnostic than a single cropped brown patch. Keep the plant separate while waiting, and avoid introducing another product that changes the evidence.
For a badly affected, replaceable plant, responsible removal may be the most practical choice. Bag it before carrying it past the collection and inspect the empty position. For the plants you keep, establish a repeatable incoming-plant check and leave enough access around leaves to inspect them without dismantling the whole display.
Spider mite checks you can do at home
A spider mite infestation is easy to miss at first. Hold a sheet of white paper under a suspect leaf and tap it: tiny specks that start to move after a moment may be a spider mite. Check the underside of several leaves, because a spider mite colony often starts there.
Spider mite damage appears as fine, pale stippling, sometimes with fine webbing near leaf veins or stem joints. Dust, mineral residue and thrips can look similar, so confirm a spider mite problem with a hand lens before treating.
Spider mite numbers can build quickly in warm, dry conditions, so recheck the plant every few days after you act. Wash or wipe sturdy leaves, keep the plant away from its neighbours and compare any spider mite product label with your plant before using it.
Preventing a spider mite problem from returning
To keep a spider mite problem from coming back, inspect new plants before they join your collection, keep leaves free of heavy dust and avoid very dry, still air around crowded pots. A spider mite outbreak on one plant can spread to neighbours, so keep an eye on nearby foliage too.
Keep a short record of each spider mite check: the date, which leaves you inspected and what you saw. A spider mite population that is shrinking over several checks is a better sign than one clean-looking leaf.
If a spider mite problem keeps returning despite good habits, review the plant’s light, watering and position, since a stressed plant is harder to keep clean. Our plant care page lists what Sprout Lab stocks for routine plant health.
Products to consider
SHIELD is a conditional label-check option for confirmed mites; Aroid Mix is relevant only if a suitable aroid also has a separately diagnosed repotting need.
Common questions
Will misting get rid of spider mites?
Don't treat routine misting as a complete control programme. Confirm live mites, separate affected plants, clean foliage where appropriate and follow any treatment label. Also inspect root moisture and growing conditions. A humid room or a wet leaf doesn't establish that hidden colonies have disappeared.
Do spider mites mean I need new soil?
Not usually. The main inspection target is foliage, especially its undersides. Repot only for a separate root or medium problem. Unnecessary root disturbance adds stress and doesn't remove organisms left on stems or leaves. Choose a plant-appropriate medium if a repot is genuinely warranted.
Can damaged leaves turn green again?
Feeding scars generally remain visible. Keep useful foliage unless it is badly compromised, and assess control through live activity and cleaner new growth. Removing every spotted leaf can leave too little leaf area for recovery. Compare dated photographs instead of repeatedly spraying because old marks remain.
Read next
Common Houseplant Pests in Singapore (And How to Get Rid of Them)
Thrips on houseplants: investigate silver marks and damaged new leaves
Mealybugs on houseplants: a practical Singapore treatment plan