Mealybugs need repeated inspection because the white insects you can see may be only part of the infestation. UC IPM reports that females of many species produce 100–200 or more eggs, so removing a conspicuous colony doesn't establish that the plant is clear. Start with isolation, close inspection and physical removal, then decide whether a correctly labelled treatment is needed. This guide applies that approach to a collection on a Singapore balcony, windowsill or indoor shelf. If the pest is uncertain, compare it with the common houseplant pest guide before buying anything. A photograph of the insect and its hiding place is more useful than a photograph of one yellow leaf. (Source: UC IPM, Mealybugs, 2016.)
On this page
Where should you inspect beyond the obvious colony?
A stepwise plan for a small infestation
Does a mealybug spray make sense?
How should a Singapore balcony grower adapt the plan?
Separate pest control from root and feeding problems
What do mealybugs look like?
Look for a wax-covered insect beneath the cottony material, especially where a leaf joins its stem. The important distinction is between a living colony and a harmless mark. White residue alone does not identify the problem, so inspect before wiping away the evidence or choosing a treatment.
Use a hand lens and good side lighting. Photograph the same patch before disturbing it, then examine the insect's outline rather than relying on colour. Mineral deposits usually form a flat crust. Cotton fluff can catch on a hairy leaf. A pest colony contains bodies of different sizes or fresh wax clustered around protected plant tissue.
Mealybug lookalikes include wax-producing scale insects and some aphids. Don't scrape every white bump from a plant before checking. Aerial-root starts and normal plant structures can also look unfamiliar on a newly purchased aroid. Compare the affected area with a healthy section of the same plant and with the photographs in the sources below.
• Check leaf axils, petioles, folded new leaves and stem ties.
• Inspect the underside of the pot rim and any support pole.
• Treat sticky foliage and ant activity as clues, not definitive identification.

Look for: white cottony clusters at leaf joints and along tender stems, sticky residue, yellowing and weak new growth. Real infestation photograph: Cpodwrites / Wikimedia Commons (CC BY-SA).
Where should you inspect beyond the obvious colony?
Inspect the whole plant and its immediate neighbours, not only the damaged leaf. Divide the check into foliage, supports and container so a tidy leaf does not create false reassurance. Note where each colony occurs; repeated activity at the same hidden joint calls for a more careful examination there.
Start at the growing tip and work down each stem. Loosen removable ties carefully and look behind clips. If vines have been wound tightly around a support, inspect the contact points without pulling attached roots loose. Clean the shelf and saucer after removing loose debris, then keep that plant's cloth separate from the rest of the collection.
Root inspection is justified when wax appears at drainage openings, the plant repeatedly declines, or colonies return near the base despite a careful foliage programme. Don't bare-root an otherwise healthy plant solely because you found a few insects on a leaf. Unnecessary root disturbance makes the recovery harder to interpret.
A stepwise plan for a small infestation
Isolate the affected plant, remove accessible insects and record what remains. For a small indoor collection, solving the spread problem comes before rearranging every pot or reaching for a spray. Keep the process manageable enough to repeat, with a designated place for inspection and tools that can be cleaned.
Move the plant to a separate, suitable growing position with enough light. A dark bathroom is a poor long-term quarantine space for a sun-loving plant. Carry it in a tray to contain fallen material, avoid brushing healthy foliage, and inspect the route afterwards. Wash reusable cleaning tools before returning them to normal use.
On robust foliage, use a damp cloth or a controlled water rinse to remove accessible colonies. Support the leaf while cleaning, and avoid flooding the growing medium repeatedly. Bag heavily colonised trimmings promptly. Retain healthy foliage where possible because the plant still needs it; a blanket haircut can remove more productive tissue than the infestation itself.
• Separate touching leaves and shared supports.
• Remove accessible colonies without tearing the plant.
• Inspect neighbouring plants before returning tools to the shelf.
• Photograph and date the remaining affected sites.
Does a mealybug spray make sense?
A spray is worth considering when confirmed live insects persist in places you cannot clean adequately. Choose the least disruptive approach that fits the infestation, and judge any product by its supplied directions. Words such as natural or organic do not establish compatibility with your plant or a suitable application method.
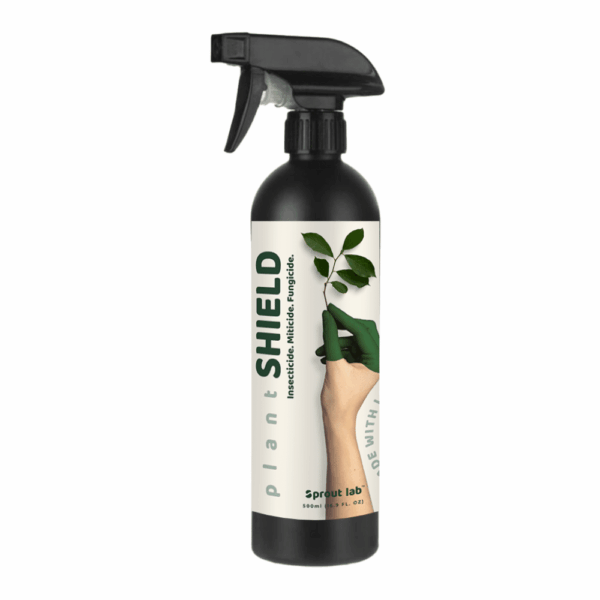
Plant SHIELD is the relevant catalogue page to review for a pest-control option. Use it only if the supplied label covers mealybugs, the plant and the intended location. Confirm directions, protective measures, repeat interval and plant exclusions before application. This recommendation doesn't verify efficacy for every mealybug species or host.
Test compatibility on a small area as directed, and don't layer unrelated sprays to make the treatment stronger. Keep an application record. A second product can introduce a separate risk of leaf injury while obscuring whether the first approach worked. For herbs or edible plants, require explicit crop and harvest instructions; an ornamental-plant direction is insufficient.
How should a Singapore balcony grower adapt the plan?
Make quarantine workable within the available space. On a narrow balcony, focus on stopping repeated contact between infested and clean foliage while preserving suitable light for the isolated plant. A quarantine arrangement that stresses the plant or cannot be maintained during daily watering is unlikely to remain useful.
Imagine a pothos winding through an adjacent philodendron. Separating only the pots leaves a bridge between plants. Unwind the vines where possible, check the points that touched, and use individual supports. Keep watering cans and pruning tools in a clean working area instead of setting them inside affected pots.
Sheltered balconies and indoor shelves can have very different drying conditions even within one flat. Observe the actual root ball rather than applying the same watering routine to both. If water washing is part of removal, count that water in the plant's total care. Repeated rinsing plus normal watering can quietly leave the roots too wet.
Separate pest control from root and feeding problems
A fresh growing medium does not remove mealybugs hidden above the soil. Replacement mix is a supporting purchase only when roots or medium independently justify repotting. Separate the question of where the insects are living from whether the container drains properly, then address each confirmed problem with a fitting action.
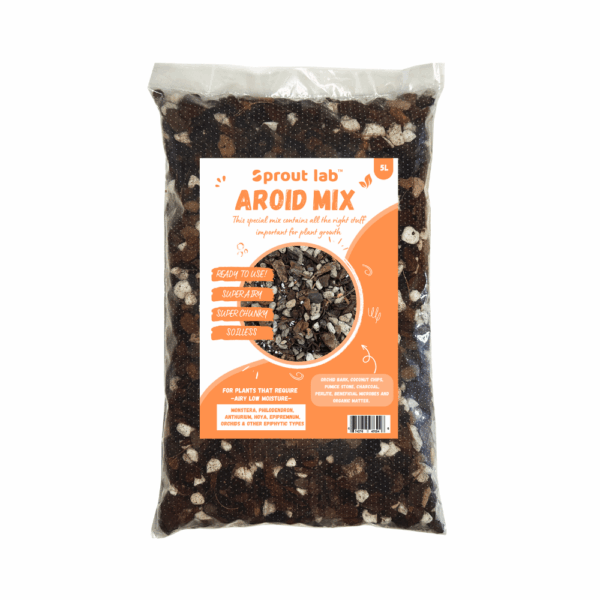
For a monstera or philodendron that also needs an appropriate repot, review Aroid Mix. For suitable general foliage plants, compare Potting Mix. Match the medium to the species and container, and keep any removed infested material away from clean pots. Neither product is a treatment for insects on stems.
Don't interpret yellow leaves as an automatic request for fertiliser. Assess light, drainage, root condition and watering first. Once the infestation is declining and healthy growth resumes, review the normal feeding programme. Adding several recovery products at once creates expense and extra variables without proving which limiting factor has been addressed.
Mistakes that prolong a mealybug problem
Stopping after visible wax disappears is a planning error. Keep checking the hiding places and note live insects rather than expecting an old damaged leaf to become perfect. Cosmetic improvement is useful, but it is a different observation from sustained control of the source that made the plant sticky or distorted.
Other unhelpful shortcuts include spraying the whole collection without identifying affected plants, increasing concentration beyond the label, and placing an isolated plant somewhere unsuitable. A bottle labelled for plant use still needs correct conditions. Sun exposure, incompatible mixtures and tender new leaves can change the outcome of an otherwise sensible treatment.
Don't share cuttings from an affected plant because the cutting looks clean at a glance. Examine nodes and leaf sheaths, retain the plant under observation, and tell the recipient if there has been a recent problem. A new support pole or decorative outer pot should also be inspected before it becomes another hiding place.
When can the plant rejoin the collection?
Return the plant only after repeated checks find no live colonies and no new spread to clean tissue. There is no universal clearance date for every species, treatment and apartment. Use the inspection record and product instructions together, and make the return conditional on the actual condition of neighbouring plants too.
Keep comparable photographs of the previously affected nodes. Record whether wax reappears, whether insects move and whether new leaves remain clean. Remove old residues carefully so fresh activity is easier to recognise. Inspect adjacent plants too, because an untreated neighbour can make a successful treatment appear to fail.
If colonies persist deep in inaccessible tissue, consider the value of the plant relative to the risk to the collection. Obtain identification help before escalating products. A heavily infested, replaceable plant may be better removed responsibly than repeatedly treated beside treasured specimens. For sticky leaves without visible cottony colonies, continue with the ants and honeydew guide.
Mealybug monitoring after treatment
After treating a mealybug problem, keep checking the plant weekly for at least a month. A single surviving mealybug can restart a colony, so look in leaf axils, under pot rims and along stems, where a mealybug often hides.
Use the same routine each time: inspect the growing tip, work down each stem and photograph any mealybug you find so you can see whether numbers are falling.
Record where each mealybug was found. If new colonies keep appearing in the same place, inspect the support, pot and neighbouring plants as well, because a mealybug can travel between them.
Products to consider
SHIELD only when its actual label covers the confirmed mealybug/host/use; Aroid Mix or Potting Mix only for a separately justified repot, never as pest treatment.
Common questions
Can I use dishwashing liquid to remove mealybugs?
Don't substitute household detergent for a labelled plant treatment. Formulations vary, and leaf damage can obscure the original problem. Start with physical removal and identification. If a treatment is needed, use a product explicitly labelled for the pest and plant, following its application and compatibility directions.
Should I repot a plant with mealybugs?
Only when there is a separate root-zone reason or evidence of root mealybugs. A foliage infestation can remain on stems and supports after repotting. Inspect the base and drainage openings first, then decide whether root examination is warranted. Match any replacement medium to the plant, not to the pest.
Why do mealybugs return after cleaning?
Hidden individuals, protected egg masses, infested supports or neighbouring plants can explain recurrence. The source may also be a different pest mistaken for mealybugs. Review the same nodes under magnification and compare dated photographs. Don't automatically increase a spray dose or assume the entire growing medium must be discarded.
Read next
Common Houseplant Pests in Singapore (And How to Get Rid of Them)
Ants and sticky plant leaves: find the honeydew source
Scale insects on plants: separate live pests from harmless bumps